Almost everyone hates the sound of water dripping in the shower. It’s even worse when it’s coming from your own shower niche! If you’ve been struggling to find a way to waterproof your niche and stop those pesky leaks, you’re in luck. In this article, we will discuss common problems with shower niches and how to prevent them from happening. We’ll also provide some tips for installation so that you can have a leak-proof shower once and for all!
Why Shower Niches are Vulnerable to Water?
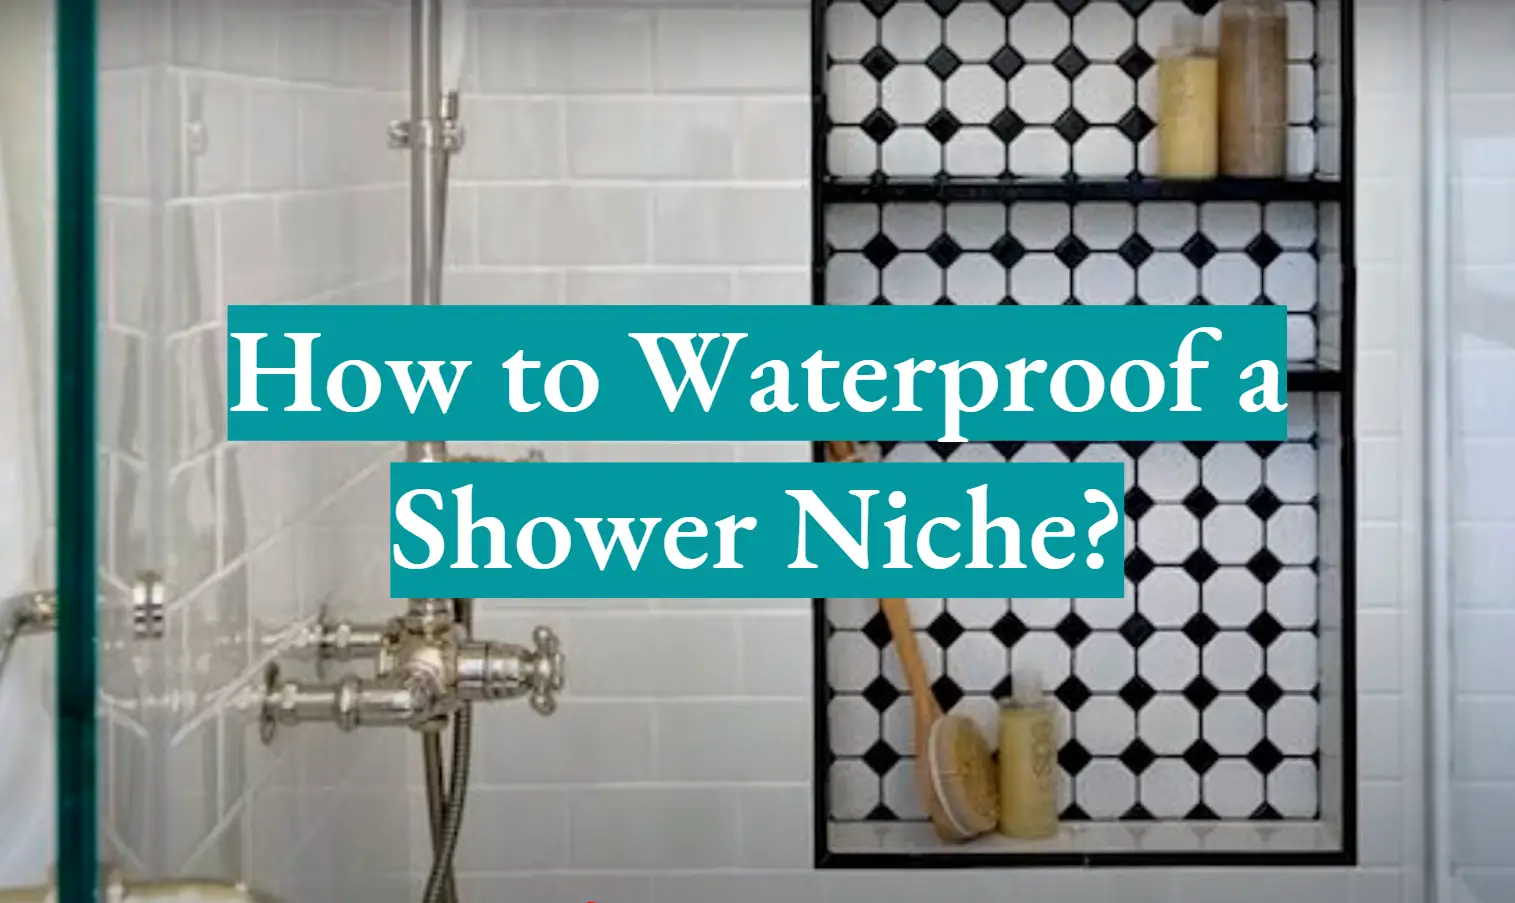
A shower niche is a recessed area in the shower wall that can be used to store shampoo, soap, and other bathing supplies. It’s an incredibly convenient feature to have in your shower, but it’s also vulnerable to water damage since it’s recessed into the wall.
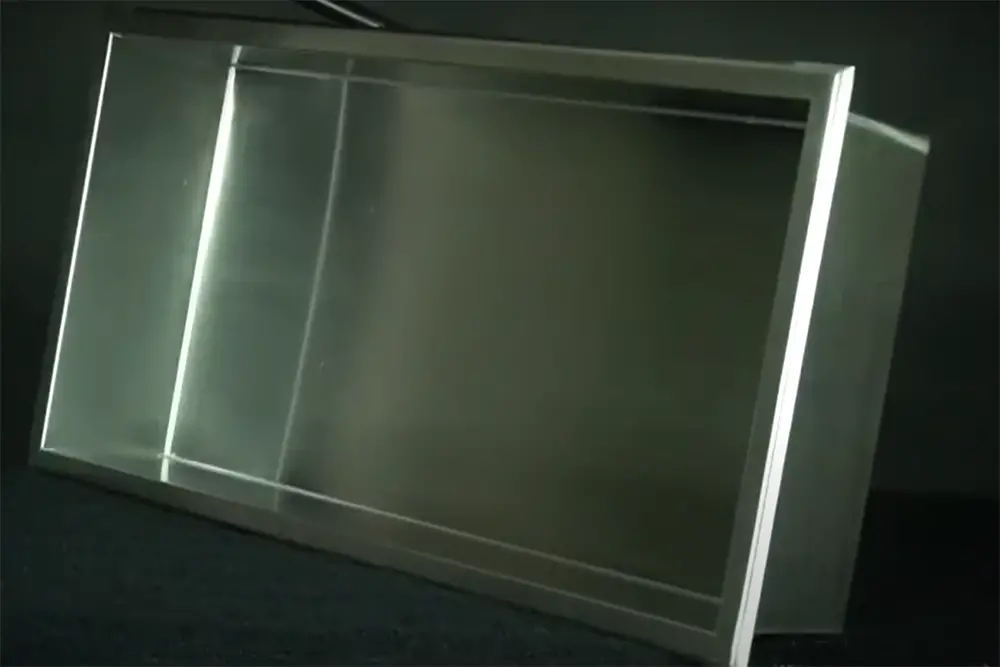
In addition, shower niches are often installed after the tiling is complete, so it can be difficult to get a good seal around the niche opening. And even if you do manage to create a tight seal, it’s only going to last for so long before it starts to leak again. [1], [2], [3]
Possible Consequences of Water Damage
Leaky shower niches can lead to all sorts of other problems, such as water damage to the walls and floor and even mold growth. So it’s important to take steps to waterproof your niche properly and avoid these issues.
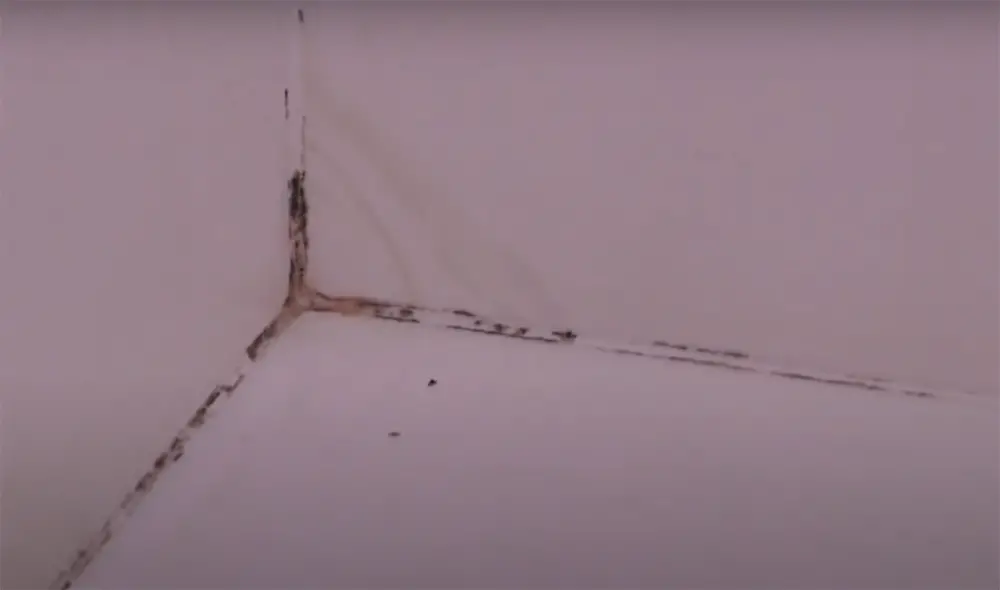
In a high-temperature humid environment, the shower assembly will start to move. Even if the grout is sealed, it will lead to major problems. You see, as a result of that movement, the grout line will eventually crack and start to leak.
This will let water get in through the pores of grout and mortar, leading to mold and mildew growing in the walls. Not only is this unsightly, it can also be dangerous for your health.
Ignoring a water damage problem can lead to bigger issues down the road. It’s important that you take care of any leaks, otherwise your home may be at risk for more serious problems with wall structure or electrical short circuit!
The sooner you get a leaky shower niche fixed, the less expensive and time-consuming it will be for your home repair team. If left unattended for long enough, most issues can become much more difficult or even impossible to tackle alone due in part to water damage, which is costly and highly inconvenient. [1], [2], [3]
So how can you waterproof a shower niche and prevent leaks from happening? Read on for some tips.
Steps to Protect Shower Niche Against Water
There are a few basic steps you can take to protect your shower niche against water infiltration.
Remove the tile if your niche is tiled
The first step is to remove the tile around the niche. This will give you a good view of the surface behind the niche, and it will also make it easier to apply waterproofing materials.
If you have a pre-installed plastic or metal shower niche, you can skip this step and simply apply a fiberglass tape waterproof membrane over it. Same goes for tile niches you haven’t installed yet. [1], [2], [4]
Cut the fiberglass tape to match the size of the niche
Fiberglass tape is an excellent choice for the watertight seal around niche openings. It will protect the grout from cracking and water damage. What’s more, it’s resistant to heat so that it can withstand the high temperatures in a shower.
You can buy fiberglass tape at any hardware store. The tape can be cut to size with precision and will last longer than other materials because it doesn’t allow moisture inside. And it’s incredibly easy to apply, just measure the sizes correctly. [2], [5]
Apply a Waterproofing Membrane
Once the tile is removed and tape is ready, apply a waterproofing membrane over the surface behind the niche. There are a few different types of membranes available, so choose one that’s best suited for your situation.
Some membranes are specifically designed for use in showers, while others are more general-purpose. Make sure to read the instructions carefully so that you apply the membrane correctly.
The best way to apply it is to use a putty knife or trowel to spread it evenly over the surface. Make sure to bed it in well so that it forms a tight seal.
Note, it’s important to see if the niche integrates well with waterproofing membranes. If it doesn’t, there will likely be water infiltration no matter how well you waterproof the niche. [1], [2], [4]
Seal the sides of your shower niche with fiberglass tape
Once the membrane is in place, apply a fiberglass tape to the sides of your shower niche and paste it in place. This will create a watertight seal and prevent any water from leaking behind the niche. Focus on internal corners of the niche and make sure the tape is well-adhered.
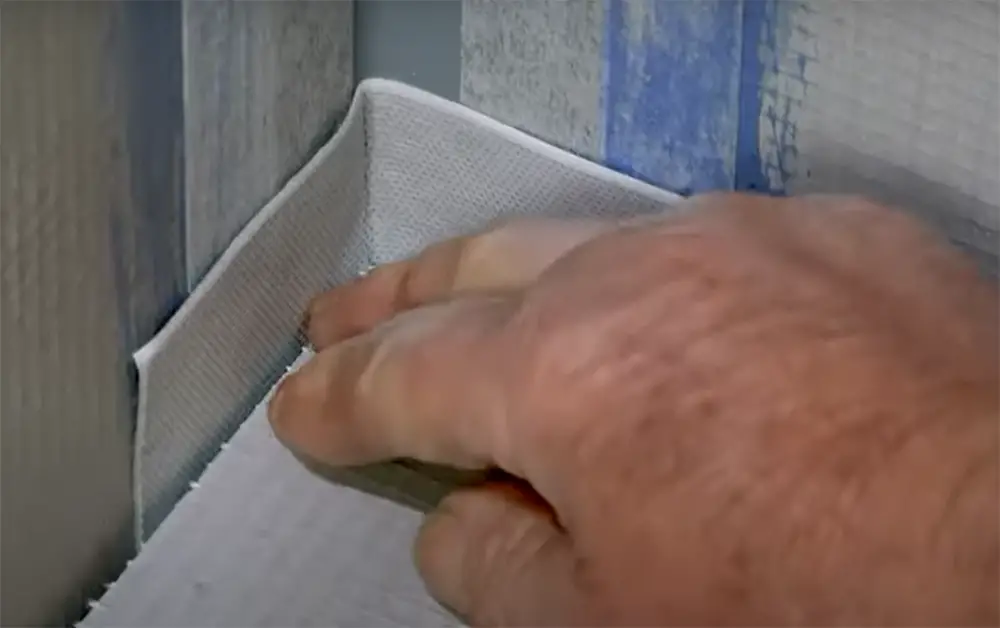
For sealing external corners, butterfly patches can be used. These are available at most hardware stores and they’re easy to apply.
If you’re using a fiberglass tape that requires wetting, make sure to apply it while the membrane is still wet. Otherwise, the adhesive won’t stick properly.
Once everything is in place, allow it to dry completely before reinstalling the tile. Depending on the type of membrane you chose, this could take up to 48 hours. [2]
Re-install the tile
The final step is to re-tile the niche area. Be sure to use a waterproof sealant around the edges of the tile, and allow it to dry completely before using the shower.
Start re-tiling from the bottom and work your way up. This will help to prevent any water from seeping behind the tile and causing further damage.
If you follow the instructions carefully, your shower should be leak-proof. Use high quality waterproofing materials and make sure to use these professional tips in order for it not to seem like an amateur job!
These steps should help keep your shower niche leak-free, but it’s always important to test for leaks before use. Apply pressure to the niche area and check for any water infiltration. If you find any leaks, address them immediately and take corrective action. [2], [4]
FAQ
How do you waterproof a plastic shower niche?
There are a few ways to waterproof a plastic shower niche. The easiest way is to use silicone sealant. Apply a thin layer of sealant around the edge of the niche and then press it into place. If you have any gaps, use a caulking gun to fill them in. You can also use tile adhesive to attach the niche to the wall.
Do you have to waterproof a shower niche?
Your shower niche will always be exposed to some level of water exposure, so it’s important to waterproof it to prevent leaks. If you fail to do this in time, leaks may lead to mold growth and other costly repairs.
Should you tile shower niche first?
It is not necessary to tile the shower niche before waterproofing it. In fact, tiling the niche can actually make it more difficult to seal properly. If you are not confident in your ability to tile a straight line, it is best to leave this task to a professional.
Useful Video: How to waterproof Shower niche – Caulk Shower Niche – Step By Step
Conclusions
Waterproofing your shower niche is important to protect your home from water damage. If you have a leaky shower, the water can damage your wall structure and cause mold to grow. Make sure to waterproof your niche so that you can avoid these problems. It may seem like an extra step, but it will save you time and money in the long run.
The key elements to saving your niche are waterproof membrane and fiberglass tape. The membrane will protect the niche from water damage, and the fiberglass tape will keep the membrane in place. Make sure to use a quality membrane and tape to ensure a successful waterproofing job. So go ahead and give your shower protection that will last for years to come!
References:
- https://redblockindustries.com/blog/shower-niche/shower-niche-install-mistakes/
- https://waterprooftips.com/how-to-waterproof-a-shower-niche/
- https://thenicheman.com.au/how-to-keep-your-shower-niche-waterproof/
- https://www.jlconline.com/how-to/interiors/waterproof-shower-niche_o
- https://www.doityourself.com/stry/fiberglass-tape-vs-cloth-benefits-and-differences





Leave a Reply