A roof valley is a common place for water to accumulate on a roof. If it is not waterproofed properly, the water can cause damage to the roof decking and framing, and can even lead to leaks. In this article, we will discuss how to waterproof a roof valley using several different methods. We will also answer some common questions about roof valleys.
Why Do Roof Valleys Leak?
There are a few reasons why roof valleys can leak. One reason is that the angle of the valley allows water to pool in one spot. If there are any cracks or holes in the valley, the water will seep through and cause leaks. Another reason is that debris can build up in the valley, which can block drainage and cause water to back up. Finally, if the flashing around the valley is not installed properly, it can allow water to seep through.
Roof valleys are one of the most common places for leaks to occur, so it is important to make sure they are properly waterproofed. Below, we will discuss the various methods for achieving this task. [1]
Aging Roofing Materials
Roof valleys are often the source of leaks due to rotting roofing materials. As asphalt shingles age, they become more brittle and can crack or crumble. This allows water to seep through and cause leaks. If you have an older home with an asphalt shingle roof, it is important to inspect the valleys for any signs of damage. If you see any cracks or missing pieces, you will need to replace the damaged shingles.
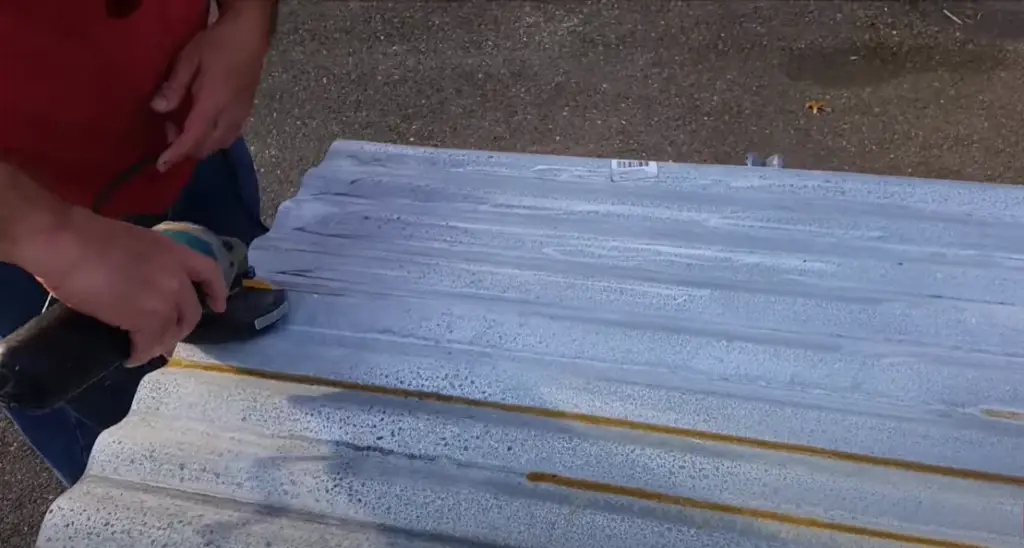
Another common cause of leaks in roof valleys is improper installation of the flashing. Flashing is a strip of metal that is installed around the perimeter of a roof valley. Its purpose is to direct water away from the valley and into the gutters. If the flashing is not installed properly, it can allow water to seep through and cause leaks.
Once you have repaired or replaced the damaged materials, you will need to waterproof the roof valley. There are several different ways to do this, and we will discuss them all below.
Broken Flashing
One of the most common causes of leaks in roof valleys is broken flashing. Over time, the flashing around your roof valley can become damaged or deteriorate, leaving gaps and openings for water to seep through.
If you suspect that your roof valley leak is due to broken flashing, the first thing you’ll want to do is inspect the area for any damage. If you see any cracked, chipped, or missing pieces of flashing, it’s likely that this is the source of your problem.
To fix broken flashing, you’ll need to replace the damaged sections with new material. This can be a bit tricky, so it’s best to hire a professional if you’re not confident in your ability to do it yourself.
Once the new flashing is in place, you’ll want to apply a generous amount of sealant around the edges to make sure that it’s properly sealed. This will help to prevent future leaks and ensure that your roof valley is watertight.
Strong Winds
Another common cause of roof valley leaks is strong winds. If the wind is strong enough, it can lift up the shingles around your roof valley and allow water to seep underneath.
To prevent this from happening, you’ll want to make sure that the shingles around your roof valley are properly secured. This can be done by applying a generous amount of sealant or caulk around the edges.
If you live in an area with high winds, it’s important to take these precautions to prevent roof valley leaks.
Damaged Roofing Membrane
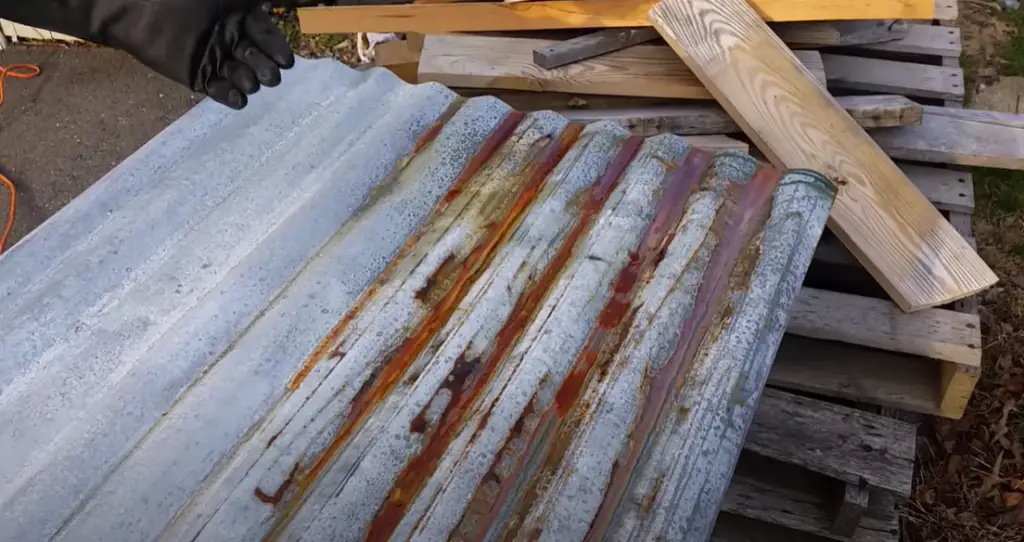
Damaged roofing membranes can be the other reason causing water leaks. If you have an old home, the roofing materials may deteriorate over time. The good news is that you can replace the damaged membrane with a new one. This will surely solve your problem.
To do this, first, you need to identify the source of the leak. Once you know where the water is coming from, you can easily fix it by replacing the damaged portion of the roofing membrane. Make sure to use a high-quality roofing material so that it will last long.
You also need to check the flashing around your chimney and vents. If they are not properly installed or if they are loose, water can easily enter your home through these openings. So, make sure to check them regularly and repair or replace them if necessary.
There are different ways on how to waterproof a roof valley and each has its own advantages and disadvantages. You need to choose the one that will best suit your needs. If you are not sure, you can always ask for help from a professional contractor. They can surely give you the best advice on how to solve your problem.
Thermal Expansion
One of the most important things to consider when waterproofing a roof valley is thermal expansion. As temperatures change, different materials expand and contract at different rates. This can cause cracking and leaks in your roof valley if not taken into account.
There are two ways to account for thermal expansion:
- Use an expansion joint: An expansion joint is a gap in your roof valley that allows for movement due to thermal expansion. These are typically made of rubber or another flexible material.
- Install a metal flashing: Metal flashing can also be used to allow for movement due to thermal expansion. This is often done at the point where two pieces of metal meet, such as at the junction of a chimney and roof.
Both of these methods are effective at preventing leaks due to thermal expansion. However, expansion joints can be a trip hazard and metal flashing can be more difficult to install. Choose the method that is right for your roof valley and your level of expertise.
How to Fix a Leaking Roof Valley
If you have a leaking roof valley, the first step is to identify the source of the leak. This can be difficult, as water can travel a long way before it leaks into your home. Once you have found the source of the leak, there are a few ways to fix it:
- Use caulk or sealant: If the leak is small and at the junction of two materials (such as metal flashing), you may be able to simply caulk or seal it. This is not a permanent solution, but it can buy you some time until you can make a more permanent repair.
- Replace damaged materials: If there is significant damage to any of the materials in your roof valley, they will need to be replaced. This is a more difficult and expensive repair, but it will be necessary if the damage is significant.
Once you have made the repairs, be sure to monitor the area closely for any new leaks. If you are not confident in your ability to make these repairs, or if the damage is significant, it is best to call a professional. Trying to fix a roof valley yourself can result in further damage and leaks, so it is best to leave it to the professionals. [2]
Temporary Roof Valley Leak Repair
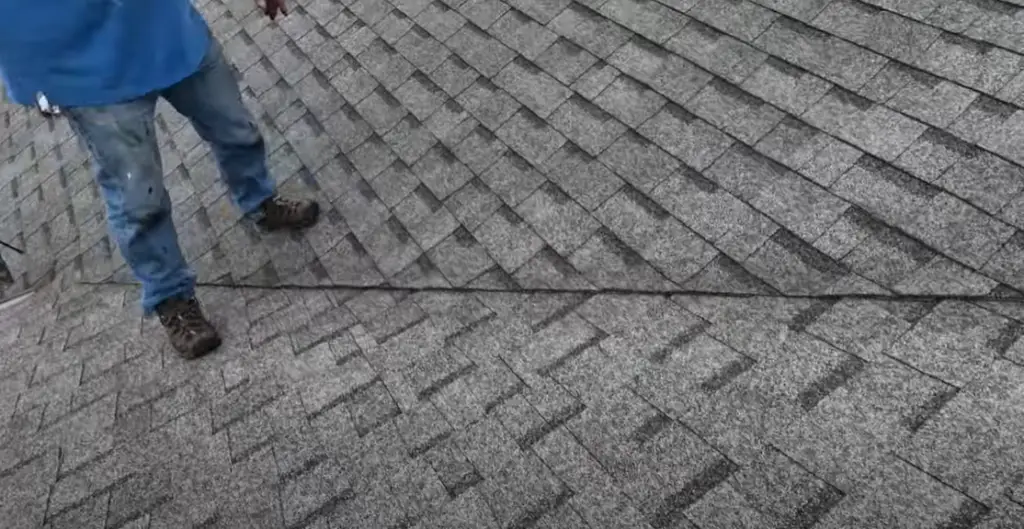
If you have a roof valley leak, the first thing you’ll want to do is repair it temporarily. This will help prevent any further damage to your home and will also give you time to find a more permanent solution. There are a few different ways you can go about doing this:
- Use caulk or sealant to fill in any cracks or gaps. You can find these materials at most hardware stores.
- Place a tarp over the area of the leak. Make sure the tarp is big enough to cover the entire area and that it’s securely fastened down so that it doesn’t blow away in windy weather.
- If the leak is caused by ice dams, you can try using an ice pick to break up the ice. Then, use a hose to melt the remaining ice and snow.
Once you’ve taken care of the immediate problem, you can start thinking about more permanent solutions.
How to Repair a Leaking Roof Valley Permanently
If you’re looking for a more permanent solution to your roof valley leak, there are a few different options you can try.
- One option is to install flashing. This is a metal strip that’s placed over the area where the two roofs meet. It helps to deflect water away from the area and can be found at most hardware stores.
- Another option is to install shingles over the roof valley. This will help protect the area from water damage and can be done by a professional or as a do-it-yourself project.
- If your roof valley is particularly damaged, you may need to replace it entirely. This should be done by a professional roofer and will require some time and money to complete.
No matter which option you choose, make sure to have the problem repaired as soon as possible to prevent any further damage to your home. Waterproofing your roof valley is an important part of maintaining your home and can save you a lot of money in the long run. [3]
How Much Does It Cost to Repair a Leaking Roof Valley?
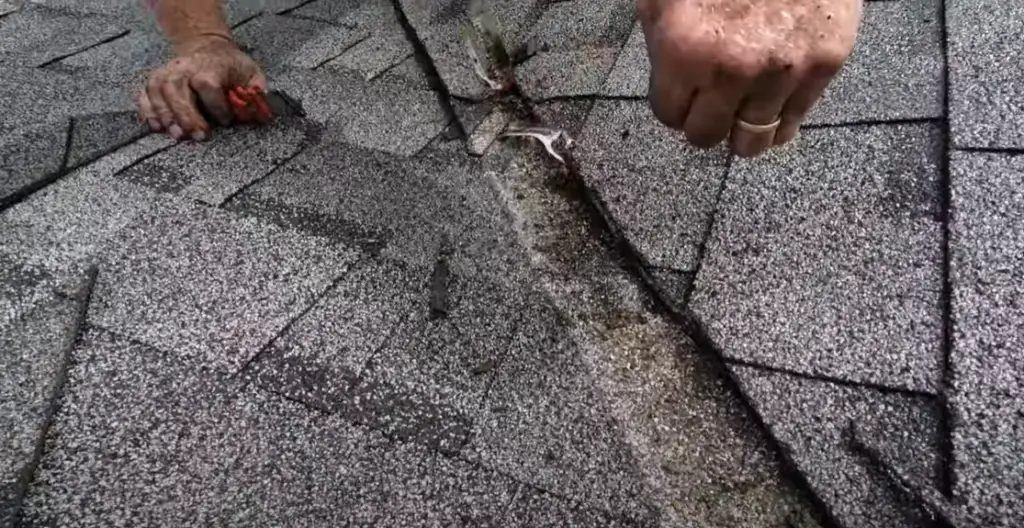
The cost of repairing a leaking roof valley will vary depending on the extent of the damage and the chosen method of repair. For minor leaks, you may only need to spend a few hundred dollars on materials and labor. However, for more serious leaks or damage, the cost can rise to several thousand dollars.
If you’re thinking about repairing your roof valley yourself, it’s important to know that this is a tricky job and should only be attempted by experienced DIYers. It is advisable to let the experts handle it if you are in doubt. Not only will they be able to do the job quickly and efficiently, but they’ll also have the proper insurance in case something goes wrong.
No matter which route you choose, it’s important to take care of a roof valley leak as soon as possible. Ignoring the problem will only make it worse and can end up costing you a lot of money in the long run. [4]
FAQ
How do you seal a metal roof valley?
One of the best ways to waterproof a roof valley is by using a metal flashing. This will help to create a barrier between the two sides of the roof and prevent water from seeping through. You can install metal flashing yourself or hire a professional to do it for you.
Another way to waterproof a roof valley is by using sealant. This will fill any gaps or cracks that may be present and prevent water from getting through. Sealant can be applied by brush, roller, or sprayer. Again, you can do this yourself or hire a professional to do it for you.
Finally, you can also use tar paper or other materials to create a barrier over the roof valley. This will help to keep water out and prevent any damage to the roof. You can install tar paper yourself or hire a professional to do it for you.
No matter which method you choose, waterproofing your roof valley is an important step in protecting your home from water damage. By taking the time to do this, you can help to extend the life of your roof and avoid costly repairs down the road. [5]
How do you cement a valley roof?
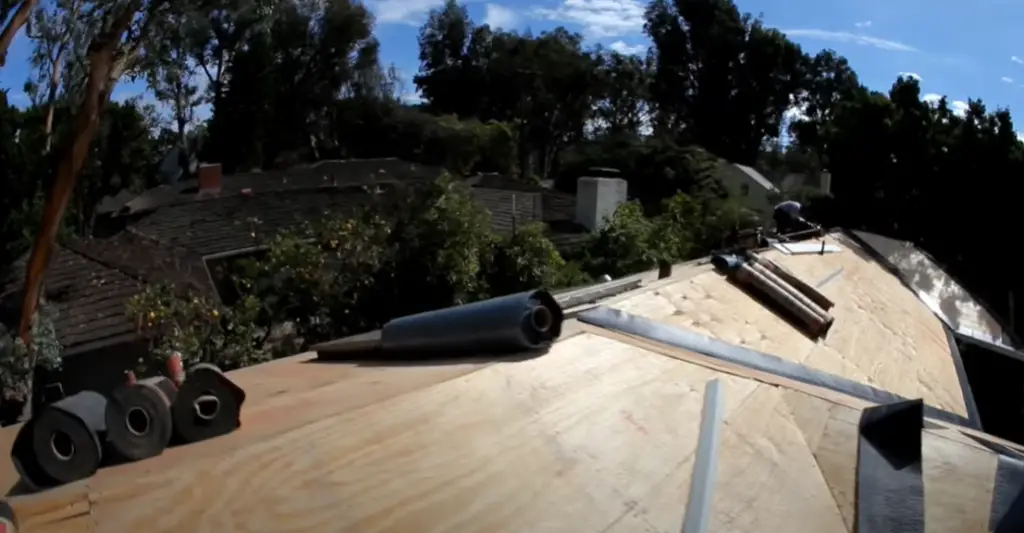
The most common way to waterproof a roof valley is by using cement. This involves applying a layer of cement over the entire roof valley, which will then need to be smoothed out. It’s important to make sure that the cement is applied evenly and smoothly, as any bumps or unevenness could cause leaks. Once the cement has been applied, it will need to be left to dry for 24 hours before being covered with shingles.
Another option for waterproofing a roof valley is by using flashing tape. This is a strip of adhesive-backed metal that can be placed over the roof valley before shingles are installed. Flashing tape helps to create a watertight seal and can also add an extra layer of protection against leaks.
Finally, it’s also important to make sure that the gutters in the roof valley are clear of any debris. Leaves and sticks can easily build up in gutters and cause problems with drainage. If your gutters are clogged, it’s best to hire a professional to clean them out for you.
How do I keep leaves off my roof valleys?
One of the best ways to keep leaves off your roof valleys is by installing gutter guards. Gutter guards are placed over the gutters and help to prevent leaves and other debris from clogging them up. They can also help keep snow and ice from building up in the gutters, which can lead to leaks.
Another option for preventing leaves from getting into your roof valley is by trimming back any trees or shrubs that are close to the house. This will help to keep leaves from falling onto the roof and causing problems.
Finally, it’s also a good idea to have your gutters cleaned out regularly. This will help to remove any build-up of leaves and sticks that could cause problems.
How do I stop my roof valley overflowing?
If your roof valley is overflowing, it’s likely due to a blockage in the gutters. The first step is to check the gutters and remove any debris that may be causing the problem. It’s also a good idea to install gutter guards, as this can help to prevent leaves and other debris from clogging up the gutters.
Another option for preventing an overflowing roof valley is by installing a diverter. A diverter is a device that helps to redirect water away from the roof valley and into the gutters. This can be especially helpful during periods of heavy rain or snowmelt.
Finally, it’s also important to make sure that your downspouts are installed correctly. Downspouts should be installed so that they direct water away from the foundation of the house. This will help to prevent water from seeping into the basement or crawl space.
Is it bad to have leaves on your roof?
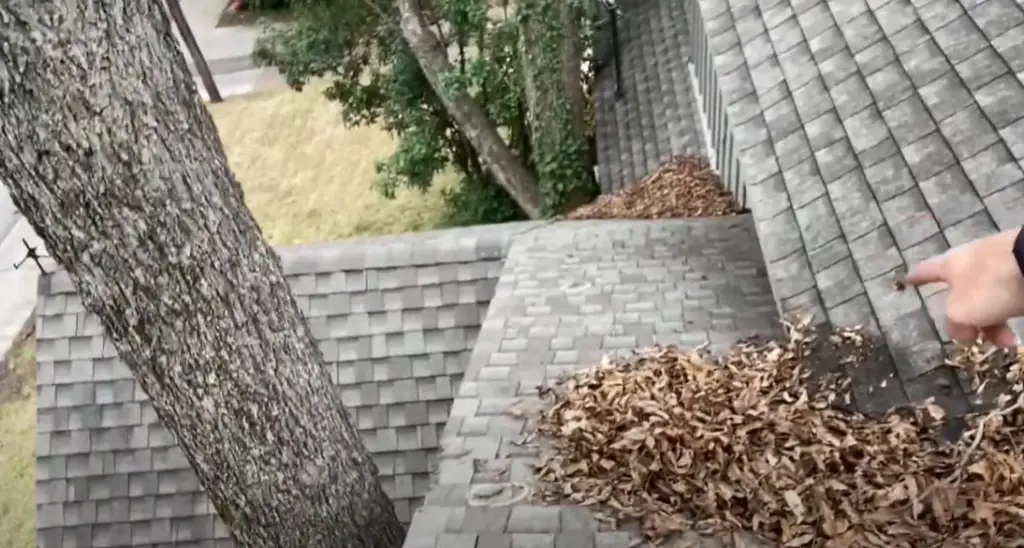
Leaves on your roof can cause some problems, such as clogging up gutters and causing leaks. It’s important to remove any leaves that fall onto the roof so that they don’t cause these issues.
Another problem that can be caused by leaves on the roof is moss growth. Moss thrives in damp and shady areas, so it’s often found growing on roofs. Moss can cause damage to shingles and also holds moisture against the roof, which can lead to rot and leaks.
If you have a lot of trees around your house, it’s a good idea to install gutter guards. Gutter guards help to prevent leaves from getting into the gutters and causing problems. Cleaning gutters not only improves the appearance of your home, but it also prevents snow and ice from accumulating in the gutters, resulting in leaks. [6]
How do I stop water from going behind my gutters?
One of the most common ways to stop water from going behind your gutters is to install a gutter guard or leaf guard. This will keep leaves and debris from clogging up your gutters and causing water to back up. You can also clean your gutters regularly to prevent them from getting clogged in the first place.
Another way to stop water from going behind your gutters is to make sure they are sloped properly so that water runs off of them easily. If your gutters are not sloped correctly, water can pool in them and eventually seep into your home. You can adjust the slope of your gutters by adding shims under the gutter hangers or by installing new hangers that are slightly tilted.
If you have a metal roof, you can also install a drip edge to help keep water from going behind your gutters. A drip edge is a strip of metal that is installed along the edge of your roof. It has a lip that extends out slightly over the gutter so that water runs off of it and into the gutter instead of going behind the gutter and into your home.
You can also use caulk or sealant to waterproof the area where your gutters meet your roof. This will create a barrier between the two surfaces and prevent water from seeping through. Just be sure to use a product that is specifically designed for use on roofs so that it will not damage your shingles or cause any other problems. [7]
Can tree branches damage a roof?
Tree branches can damage a roof in several ways. First, they can fall and cause physical damage to the roof. They can also rub against the roof, causing wear and tear over time. Additionally, tree branches can provide a way for animals to get onto the roof, which can cause damage as well. And finally, tree branches can hold moisture against the roof, which can lead to rot and leaks.
It’s important to trim any tree branches that are close to your roof so that they don’t cause any of these problems. You should also remove any dead or dying trees from your property so that they don’t fall and cause damage to your home. If you have trees on your property, it’s a good idea to have them inspected regularly by a certified arborist to ensure that they are healthy and not at risk of falling.
Useful Video: How to waterproof roof valley with peel-n-stick Palos Verdes Roofer
Conclusion
While roof valleys are a common place for water to accumulate and cause damage, it’s not difficult to waterproof them if you take the time to do it properly. By following the steps in this article, you can ensure that your roof valley stays dry and protected from the elements. Have any questions about how to waterproof your roof valley? Leave us a comment below and we’ll be happy to help.
References:
- https://www.roofingmegastore.co.uk/blog/leaking-roof-valley.html
- https://home.howstuffworks.com/home-improvement/repair/how-to-repair-a-leaky-roof4.htm
- https://www.roofingmegastore.co.uk/blog/leaking-roof-valley.html
- https://www.bobvila.com/articles/roof-repair-cost/
- https://www.metalroofing.com/spirit/topic/2246/valley-flashing-sealing/
- https://www.centralroofing.com/can-fallen-leaves-damage-your-roof/
- https://www.superterry.com/gutters-are-leaking-from-behind/




Leave a Reply