Waterproofing a freestanding tub in a shower can seem daunting, but with the right tips and tricks it can be a breeze! In this blog post, we will walk you through the process step-by-step so that you can waterproof your tub like a pro. We will discuss the different types of waterproofing materials available, as well as how to apply them properly. So whether you are planning on installing a new freestanding tub in your shower, or just want to make sure your current one is watertight, read on for all the info you need!
Benefits of Using a Freestanding Tub in a Shower
There are many benefits to using a freestanding tub in a shower.
If you have a small bathroom, or if you simply don’t want your tub taking up too much space in your shower, then a freestanding tub is ideal.
Another benefit of using a freestanding tub in a shower is that it can be much easier to keep clean. When your tub is not attached to anything, there are no nooks and crannies for dirt and grime to hide in. This means that you won’t have to spend as much time scrubbing your tub clean.
Finally, freestanding tubs can add a touch of luxury to your bathroom. If you want your bathroom to have a more luxurious feel, then a freestanding tub is a great way to achieve this. [1]
Where to Put a Freestanding Tub in a Shower?
While there isn’t necessarily a wrong answer to this question, there are a few things you’ll want to keep in mind when making your decision. Here are a few tips to help you choose the best location for your freestanding tub in a shower:
- First and foremost, you’ll want to make sure that your tub is placed on a level surface. If your shower floor isn’t level, it’s possible that your tub could end up tipping over, which would obviously be very dangerous.
- Secondly, you’ll want to consider how much space you have available in your shower. If you have a small shower, you might not have enough room to put a freestanding tub in it. In this case, you might want to consider a different type of tub, such as an alcove tub or a corner tub.
- Thirdly, you’ll want to think about how easy it will be to get in and out of your tub. If your shower is located in the middle of your bathroom, it might be a little bit more difficult to get in and out of your tub than if it were located near the door.
- Finally, you’ll want to make sure that there is adequate ventilation in your shower. If there isn’t enough ventilation, the steam from your shower could damage the finish on your tub.
Keep these tips in mind and you’ll be sure to choose the best location for your freestanding tub in a shower. [2]
How to Waterproof a Freestanding Tub?
If you have a freestanding tub in your shower, you may be wondering how to waterproof it. There are a few different techniques for this, and each has advantages and disadvantages. Here are a few tips and tricks to help you waterproof your freestanding tub in a shower:
One way to waterproof your freestanding tub is to use a liner. This will create a barrier between the tub and the rest of the shower, preventing water from seeping through. However, liners can be expensive, and they may not be the most attractive option for your bathroom.
Another option is to use caulk or silicone sealant around the base of the tub. This will create a water-tight seal, but it is important to make sure that the caulk or sealant is applied correctly in order to prevent leaks.
Finally, you may also want to consider using a water-resistant paint on the tub. This will help to protect it from water damage, but it is important to choose a paint that is specifically designed for use in bathrooms. Follow these tips and tricks and you should be able to waterproof your freestanding tub in a shower with ease! [3]
How Much Space Should There Be Between a Freestanding Tub and the Wall?
When it comes to freestanding tubs, there should be at least two inches of space between the tub and the wall. This will allow for proper drainage and prevent water from pooling around the base of the tub.
Are Freestanding Tubs Going Out Of Style?
There’s no doubt that freestanding tubs are having a moment in the design world. More and more homeowners are choosing to ditch their traditional bathtubs in favor of these sleek and stylish options.
But if you’re thinking about making the switch to a freestanding tub, there’s one important consideration that you need to take into account: waterproofing. Unlike traditional bathtubs, which are typically installed against a wall, freestanding tubs need to be properly waterproofed in order to prevent leaks and water damage.
Children Or Pets Using The Tub
If you have small children or pets that use the tub on a regular basis, you may want to consider waterproofing it as an extra precautionary measure. Waterproofing will help to protect your tub from any accidental spills or leaks, and will also make it easier to clean. There are a few different ways that you can waterproof a freestanding tub in a shower, and we’ve outlined some of our favorite DIY tips and tricks above.
How to Tile Around Your Bathtub
While there are many ways to waterproof a tub, tiling around it is one of the most effective methods. Here are some tips and tricks on how to tile around your bathtub:
- Start by measuring the area around your tub. This will give you an idea of how much tile you’ll need to purchase.
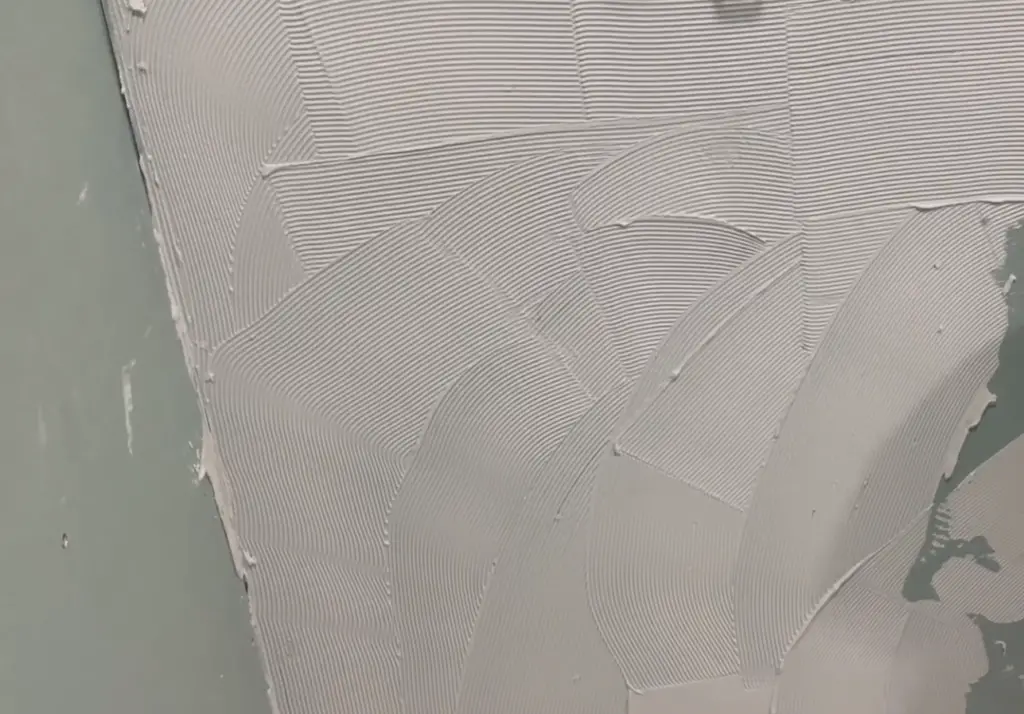
- Next, apply a layer of thinset mortar to the area around the tub. Be sure to use a notched trowel to ensure even coverage.
- Now it’s time to lay down your tiles. Start at one end of the tub and work your way around, making sure each tile is properly spaced and level.
- Once all the tiles are in place, apply a grout sealer to help protect against water damage.
By following these simple tips, you can easily waterproof your bathtub and extend its lifespan. So don’t wait any longer, get started today! [5]
Is Waterproofing Your Freestanding Tub Worth It?
The short answer is yes, waterproofing your freestanding tub is worth it. Not only will it protect your investment, but it will also make your life much easier. Waterproofing a freestanding tub can be a daunting task, but with our tips and tricks, you’ll be able to do it like a pro!
FAQ
Can I put a freestanding tub in a shower?
Yes, you can put a freestanding tub in a shower. However, you need to waterproof the tub and the surrounding area to prevent leaks.
How do I waterproof a freestanding tub in a shower?
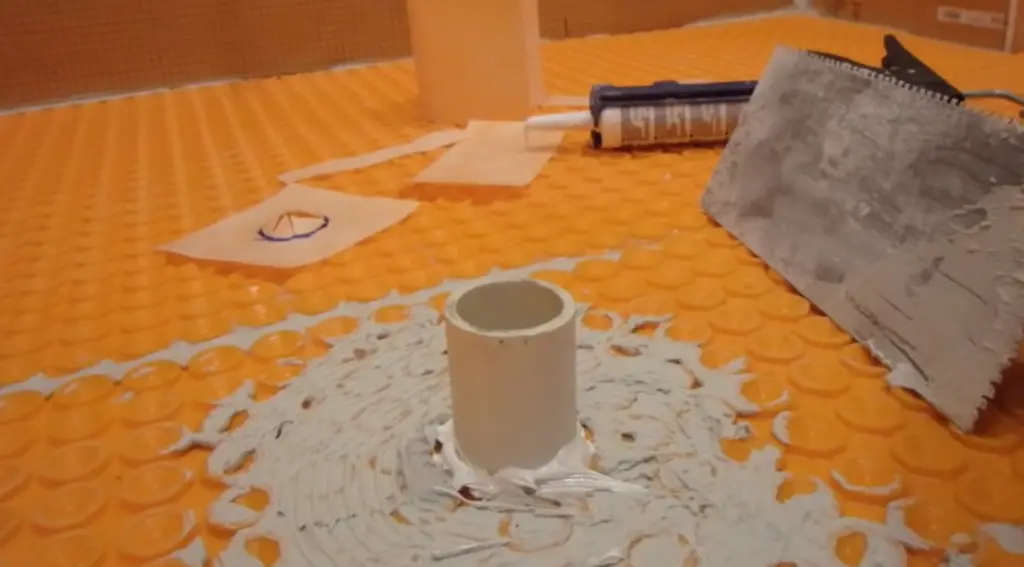
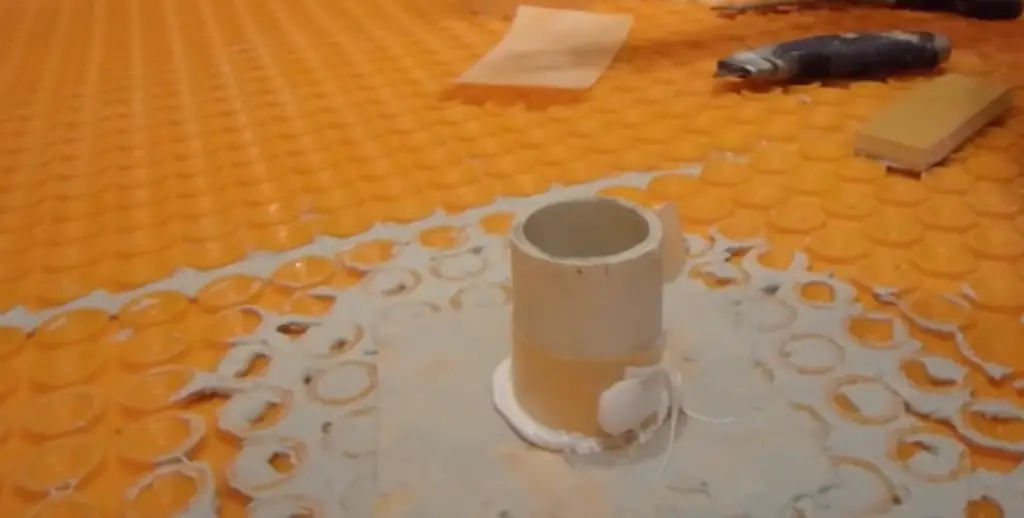
There are several ways to waterproof a freestanding tub in a shower. You can use silicone caulk, rubber matting, or special membranes designed for showers. You also need to make sure that the drain and pipes are properly sealed.
Can I install a freestanding tub myself?
It is possible to install a freestanding tub yourself. However, it is advisable to hire a professional plumber or contractor to do the job. This will ensure that the installation is done correctly and that there are no leaks.
Do you need to waterproof around a freestanding tub?
Doing it yourself is not as hard as you think. Here are some tips and tricks to help you get the job done right.
First, remove any caulk or sealant that is already in place around the tub. This will help ensure that the new sealant adheres properly. Next, clean the surface of the tub with a mild soap and water solution. Be sure to rinse away all of the soap residue before proceeding. Now it’s time to apply the waterproofing sealant. For best results, use a caulking gun to apply an even bead of sealant around the entire perimeter of the tub. Once you have finished applying the sealant, smooth it out with your finger or a putty knife. Allow the sealant to dry for at least 24 hours before using the tub.
Can I put a freestanding bath in a wet room?
If you’re considering installing a freestanding bath in your wet room, there are a few things you need to take into account to make sure it’s properly waterproofed. Wet rooms are notoriously difficult to keep watertight, so it’s important to do your research and plan ahead before taking on this project.
This will help prevent water from seeping through cracks and causing damage. You’ll also need to make sure that any drains or pipes in your wet room are properly sealed so that water can’t leak through them. Once you’ve taken care of the waterproofing, you can then start thinking about the design of your wet room and how to make it look as stylish as possible.
How far should the freestanding tub be from the wall?
When installing a freestanding tub in a wet room, it’s important to leave enough space around the tub so that water can’t splash onto the floor and cause damage. It’s generally recommended to leave at least six inches between the edge of the tub and any walls or other surfaces. This will give you plenty of room to move around the tub and keep it clean without having to worry about water getting everywhere.
You should also consider how easy it is to get in and out of the tub when planning your layout. If you have limited space, you may want to choose a smaller tub or one with a built-in step so that you don’t have to worry about maneuvering around it in a tight space.
Is it true that freestanding tubs are becoming obsolete?
We don’t think so! In fact, we believe that freestanding tubs are making a comeback. And, one of the reasons is because homeowners are becoming more savvy about how to waterproof a freestanding tub in a shower.
Do freestanding tubs tip over?
No, freestanding tubs are very stable and unlikely to tip over. However, it is always important to use caution when getting in and out of the tub, as well as when bathing children.
Should a freestanding bath be fixed to the floor?
No, freestanding baths do not need to be fixed to the floor. They are designed to be free-standing and stable.
Can you put a shower over a freestanding tub?
Yes, you can put a shower over a freestanding tub. However, you will need to waterproof the area around the tub to prevent leaks.
How do you secure a freestanding acrylic tub to the floor?
First you need to remove the baseboard and any trim around the tub. Then you will need to apply a bead of silicone caulk around the entire perimeter of the tub. Next, you will need to install some type of waterproofing membrane on the floor and up the walls. Finally, you will need to re-install the baseboard and trim.
These steps should ensure that your freestanding tub is properly secured and waterproofed. If you have any questions or concerns, be sure to consult a professional before proceeding with your project.
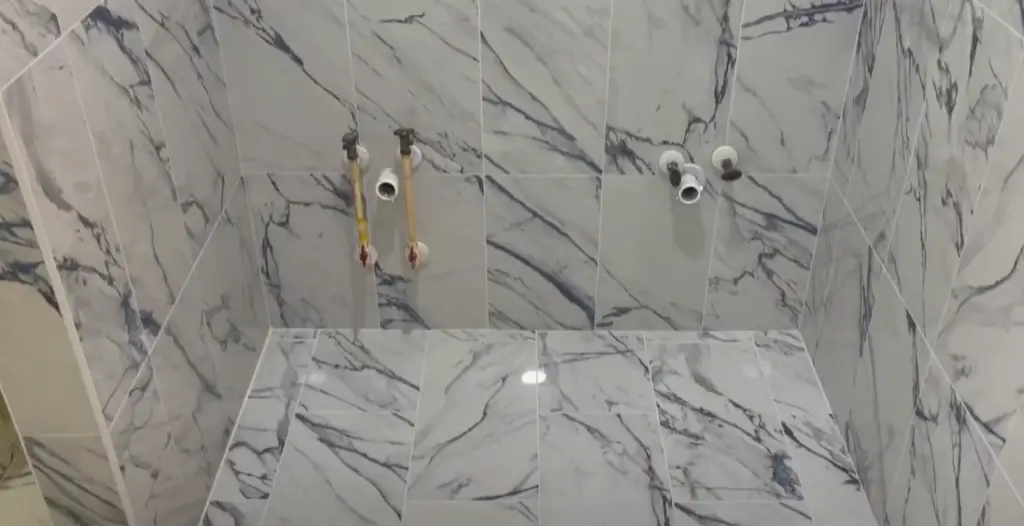
Where does the waste go in a freestanding bath?
Most free-standing baths will have a hole near the bottom, which is where the waste pipes are located. In order to ensure that your bathtub is properly waterproofed, you will need to make sure that these holes are properly sealed. You can use a variety of different materials to seal these holes, including silicone caulk or plumber’s putty. Once the holes are sealed, you can then move on to waterproofing the rest of the tub.
Useful Video: Seal and waterproof a bathtub drain in shower floor
Conclusion
Even if you don’t plan on using your tub for a while, it’s important to waterproof it correctly. By following these tips and tricks, you can be sure that your tub will be protected from water damage for years to come. Thanks for reading! We hope this article was helpful.
Do you have any other tips or tricks for waterproofing a freestanding tub in a shower? Share them with us in the comments below! And if you found this article helpful, please share it with your friends and family on social media. Until next time, happy DIYing!
References
- https://www.kingstonbrass.com/blog/7-benefits-freestanding-tubs/
- https://admbathroom.com/blogs/news/where-to-put-your-new-freestanding-tub
- https://www.houzz.com/discussions/1278268/putting-a-free-standing-tub-in-a-shower-area-waterproofing-help
- https://www.thespruce.com/bathtub-sizes-reference-guide-1821342
- https://www.thisoldhouse.com/bathrooms/21016563/how-to-tile-tub-surround